
- Go to https://www.bitvise.com/ssh-client-download
- Click “Bitvise SSH Client Installer”
- Download and double click “Bitvise SSH Client Installer” file
- Accept agreement and click “Install”
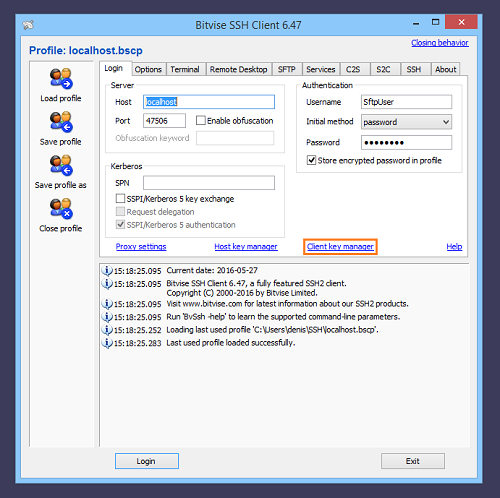
5.Once installed, the following screen will be shown
- In EC2 console, click the icon to copy the EC2 public ip
- In Bitvise SSH Client, input EC2 public ip to Host field, and input 22 to Port field of
- In Bitvise SSH Client User Interface click “Client key manager”
- Click “Import” button of the Pop up screen.
- Choose the pem key you have downloaded when creating the EC2 instance
- Client Key info pop up will be shown and click “Import”
- You will see a client key record shown
- Click close button to close the client key management pop up window
- Input “ubuntu” to Username field, choose “publickey” in Initial Method, choose client key Global 1 (same as you created in previous steps)
- Click “Log in”
- Click “Accept and Save”
- In the vertical menu bar on left side, click “New terminal console”
- Console screen of ubuntu EC2 will be shown
- By clicking “New SFTP window” on left side
- SFTP screen will be shown, it will be easier for your file upload or editing