

VS Code Markdown guide
Make sure you have VS Code installed.
VS Code comes with Markdown extension by default, but you can add more to improve the productivity.
Markdown extensions allow you to extend and enhance Visual Studio Code’s built-in Markdown preview. This includes changing the look of the preview or adding support for new Markdown syntax.
1. Default Markdown Extension
1.1. Markdown preview
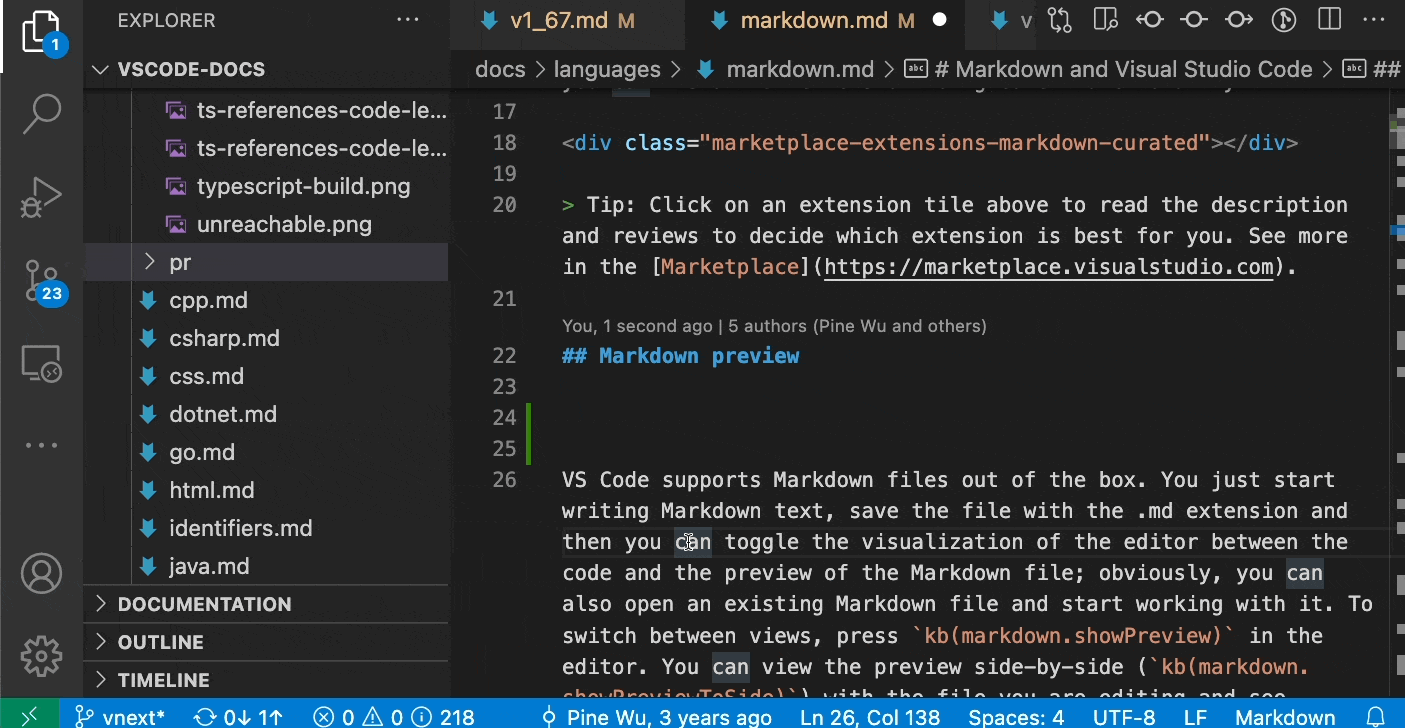
VS Code supports Markdown files by default. You just start writing Markdown, save the file with the .md extension and then you can toggle the visualization of the editor between the code and the preview of the Markdown file. To switch to HTML output views, press ⇧⌘V(Shift + Command + V) in the editor. You can also view the preview side-by-side ⌘K, then V(Command + K, then V) with the file you are editing and see changes reflected in real-time as you edit and move around the file.

You can also right-click on the editor Tab and select Open Preview ⇧⌘V(Shift + Command + V) or use the Command Palette ⇧⌘P(Shift + Command + P) to run the Markdown: Open Preview to the Side command ⌘K V(Command + K + V).

You can lock a Markdown preview using the Markdown: Toggle Preview Locking command to keep it locked to its current Markdown document. Locked previews are indicated by [Preview] in the title:
Note: The toggle Preview Locking is only available if the preview is the active Tab.

The currently editing line in the text editor is indicated by a light gray bar in the Markdown preview in the left margin.
Additionally, double clicking an element in the Markdown preview will automatically open the editor for the file and scroll to the line nearest the clicked element.

1.2. Document outline
The Outline view is at the bottom of the File Explorer ⌘B(Command + B). It shows the symbol tree of the currently active editor of current file header hierarchy like OS File Explorer.

1.3. Snippets for Markdown
Use ⌃Space(Ctrl + Space) to quickly open suggestion list (intellisense) of markdown code.
Tip: You can add in your own User Defined Snippets for Markdown by editing config file.

1.4. Go to header in file
Use ⇧⌘O(Shift + Command + O) to quickly jump to a header in the current file.

You can browse through all headers in the file or start typing a header name to find just the one you are after. Once you’ve found the header you what, press Enter to move your cursor to it. Press Esc to cancel jumping to the header.
1.5. Search and go to header in workspace
Use ⌘T(Command + T) to search through headers across all Markdown files in the current workspace.

1.6. Path completions
Use ⌃Space(Control + Space) to show you the path or file suggestions of images or link.

Path IntelliSense can also help you link to headers within the current file or within another Markdown file. Start the path with # to see completions for all the headers in the file (depending on your settings, you may need to use ⌃Space to see these):

1.7. Find All References to headers and links
Use ⇧⌥F12(Shift + Option + F12) to find all reference link to the header in the current workspace.

Find All References is supported for:
- Headers: # My Header. Shows all links to #my-header.
- External links: text. Shows all links to http://www.teachonetofish.net.
- Internal links: text. Shows all links to ./path/to/file.md
- Fragments in links: text. Shows all links to #my-header in ./path/to/file.md
1.8. Drag and drop to insert links and images
You can just drag the file from File Explorer ⌘B(Command + B) to the Markdown tile with the ⇧(Shift key).
 .
.1.9. Smart selection
Smart selection lets you quickly expand and shrink selection in Markdown documents. This can be used to quickly select entire block elements (such as codeblocks or tables) and to select the entire contents of a header section in the Markdown file.
Smart selection uses the following commands:
- Expand:
⌃⇧⌘→(Ctrl + Shift + Command + Right arrow) - Shrink:
⌃⇧⌘←(Ctrl + Shift + Command + Left arrow)
Selection applies to the following, and follows a traditional hierarchical pattern:
- Headers
- Lists
- Block quotes
- Fenced code blocks
- Html code blocks
- Paragraphs
1.10. Rename headers and links
Use F2 to rename headers or images link in editor so that it will update the link as well as the file name.
You can also use F2 on:
- Headers: # My Header. This will update all links to #my-header.
- External links: text. This will update all places that linked to http://example.com/page
- Internal links: text. This will rename the file ./path/to/file.md and also update all links to it.
- Fragments in links: text. This will rename the header in ./path/to/file.md and also update all links to it.
Other extensions
There are some other third-party extensions can help increase productivity too.
2. Markdown All in One
It has all shortcuts for markdown like working in programming.
3. Markmap
It helps draw a mindmap from your Markdown file.
It has an online version too. https://markmap.js.org/
4. Markdown PDF
It converts Markdown files to pdf, html, png or jpeg files.
5. Markdown Emoji
Insert Emoji faces in your document.
6. Markdown TOC
Generate Table of Content from your current markdown tile. How to use:
- Open the command palette (Ctrl+Shift+P)
- Type “Generate”
- Choose “Generate TOC for Markdown”
- You can see the Generated TOC is at the top of the file. Move it under the H1 title.