

Login to your AWS Management Console https://aws.amazon.com/.
After you logged in, choose your region before you move on.
Go to EC2 service.
Launch new instance
Name: WordPress

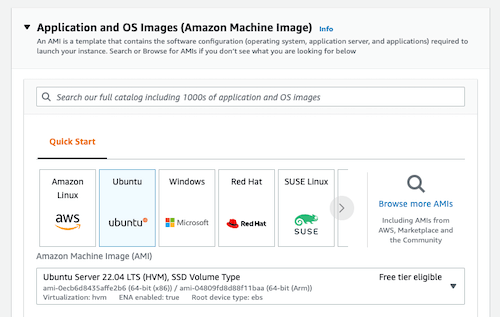
Application and OS Images (AMI): Ubuntu
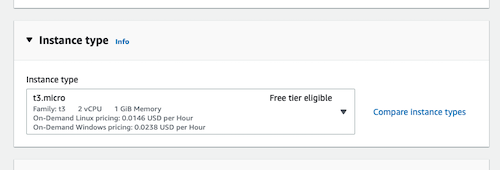
Instance type: t3.micro
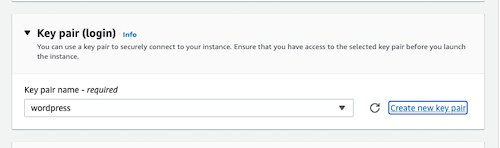
Key apir (login) -> Key pair name: wordpress
Create key pair -> Key pair name: wordpress
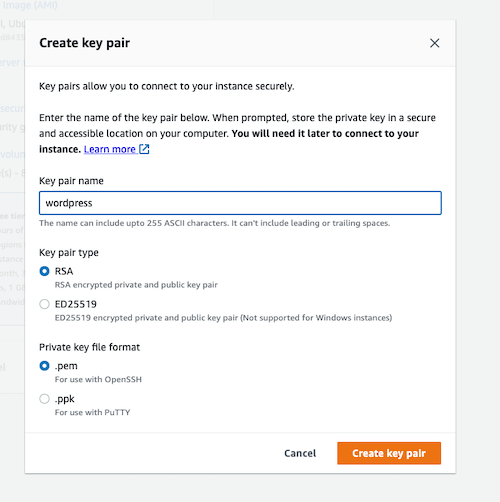
Then you will download the wordpress.pem file. If the file extension is not .pem, please check it back to .pem.
You must keep this file in a very secure place and never lose it. Else you cannot connect back to this server.
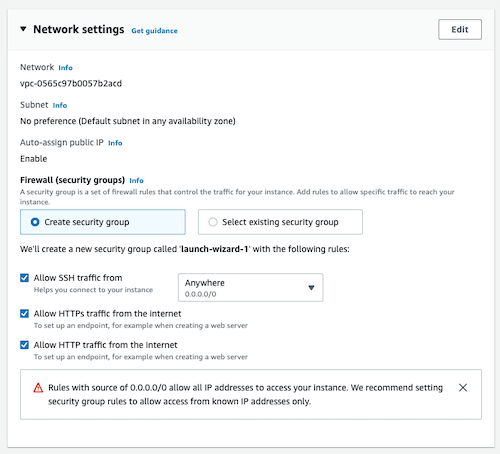
Network settings: Create security group
Check
- Allow SSH traffic from My IP
- Allow HTTPs traffic from internet
- Allow HTTP traffic from internet
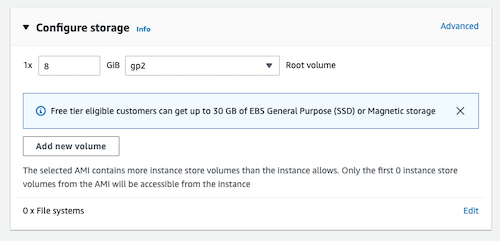
Configure storage: 1x 8GiB gp2
Check the summary from the right hand side.
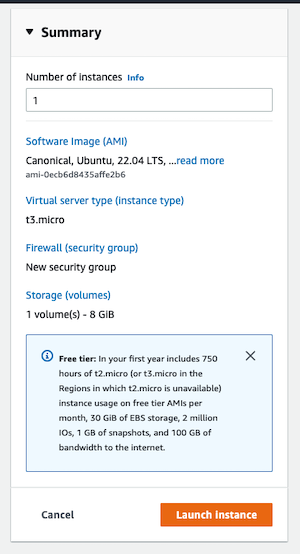
Click Launch instance button.
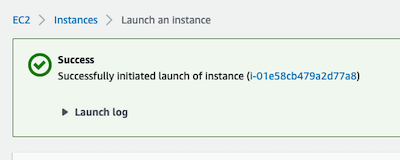
If you see the green box with the word Success, then your first EC2 server is launching!
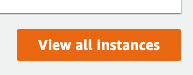
Click View all Instances to see the status of your EC2.
Wait until you see the Instance state turn to Running

Congrats! Your EC2 is running now.
Connect to your EC2
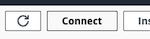
Select your EC2. At the top right corner, click Connect button
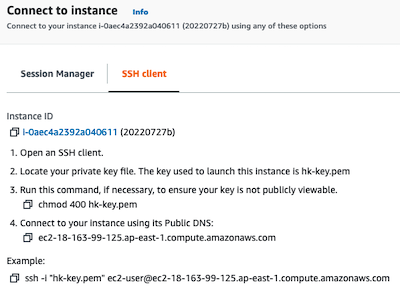
Click SSH client tab
Connect by Mac
If you are using Mac, open your terminal from Launchpad. Go to your Downloads folder.
cd ~/DownloadsThen change the pem file to read only.
chmod 400 wordpress.pemNow, paste the connection command from AWS Management Console. It should be something like:
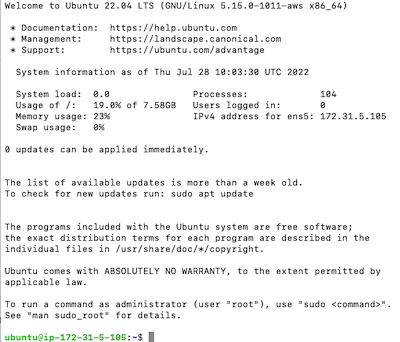
ssh -i "wordpress.pem" ec2-user@ec2-1-2-3-4.ap-east-1.compute.amazonaws.comIf you can connect, then you will see the screen.
Next
If you want to install WordPress, please go to https://www.teachonetofish.net/set-up-wordpress-on-single-instance-ec2-in-ubuntu/